It's so annoying to print out a PDF and what you see onscreen is NOT what gets printed on the page. To achieve WYSIWYG (What You See Is What You Get) may seem an impossible task with many desktop printers or maybe it's just my HP Officejet. But with just a tweak or two plus some test prints, there IS hope.

Troubleshooting a printout that is not WYSIWYG (What You See Is What You Get)
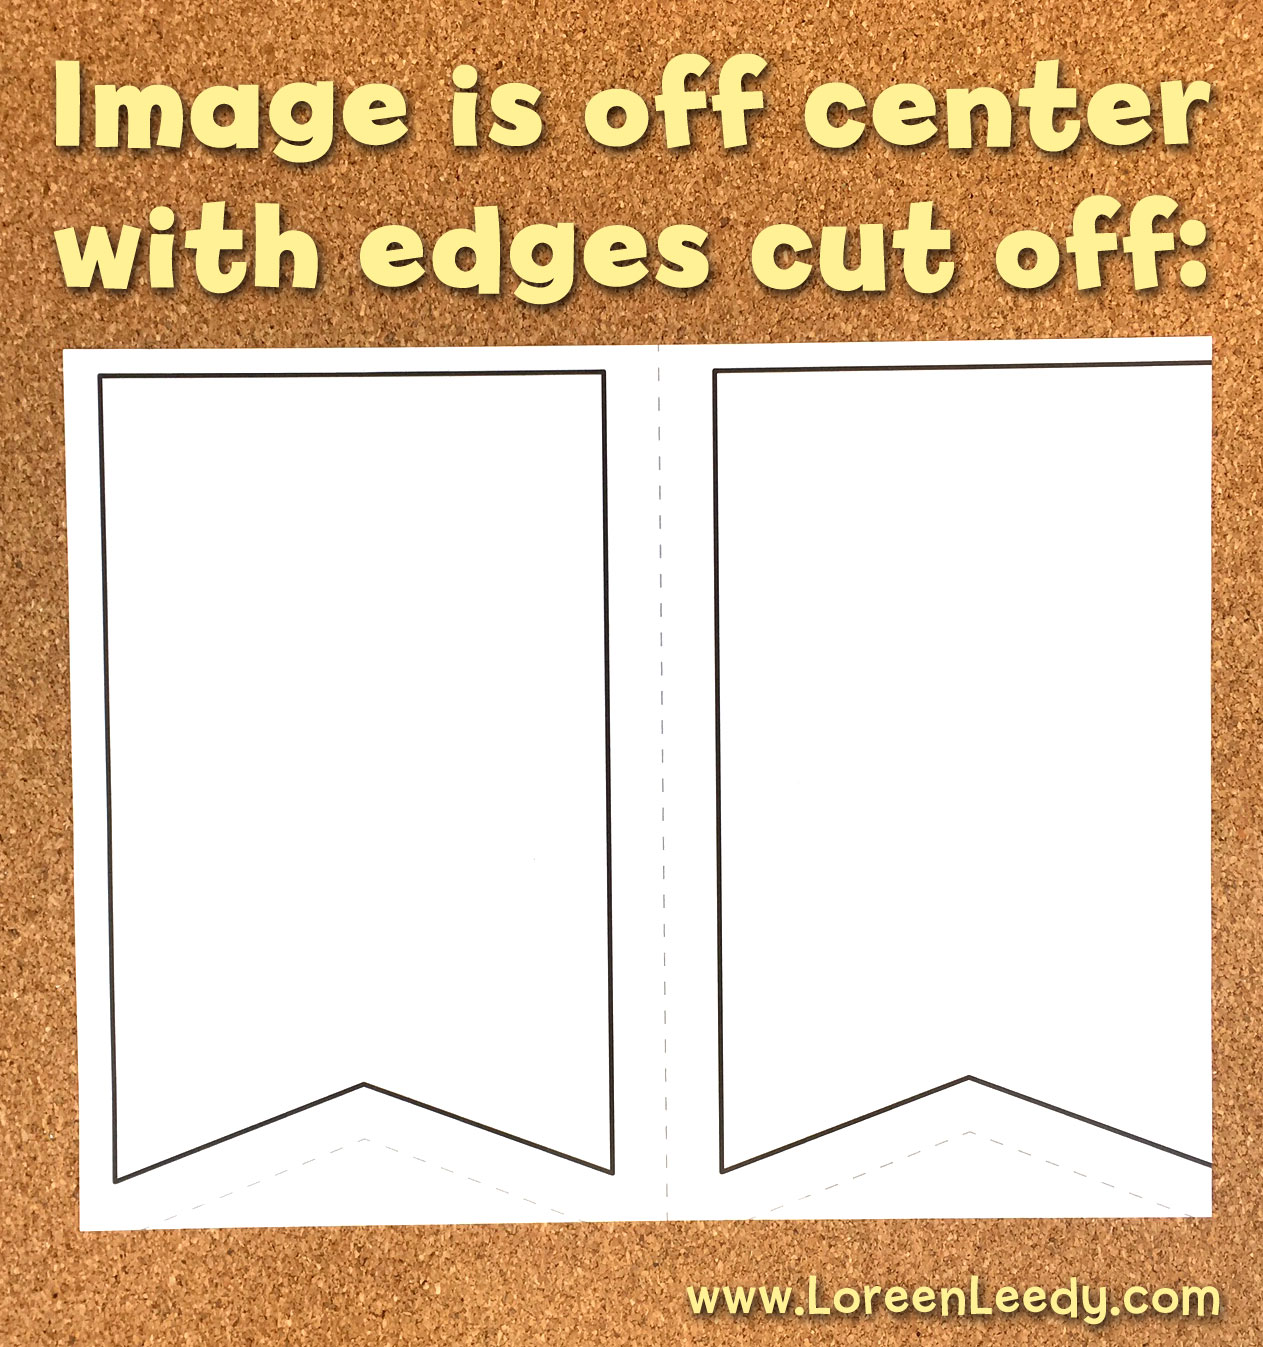
These are banner templates in progress, designed to print 2 per page and sized so that you only have to cut the paper in half and trim off the little triangle of paper at the bottom of each banner. Or at least that's how it's supposed to work! The next two photos show examples of how the printout can be off-center and/or too large or too small:

Because the printed image is too small, this would require a lot of extra cutting to trim off the excess paper.
The image in this printout is so large it has run off the edge of the paper, making it useless.
What causes these glitches? Generally more than one control affects the size of the image so use the list below to troubleshoot:
• Paper size: check to make sure the paper size selected matches your actual printer paper. For example, my printer includes some custom dimensions such as postcard size. In my software you click the Printer button to get access to the Paper Presets.

Use the built-in paper presets or create custom sizes and paper types such as glossy photo paper, cardstock, and so on.
• Percentage: some programs allow you to choose a specific custom percentage larger or smaller than 100%.
• Borderless: often runs the image off the edge of the paper. It may work in combination with a reduced image size if that option is available. In other words, using a Borderless option with a 95% image size might be just right.
• X and Y Controls: these allow you to enter numbers to fine tune the position of the image on the paper, but only some programs have them as an option (Adobe Illustrator, for example.)
• Size Options: Fit, Actual Size, or Shrink Oversized Pages are controls in Adobe Reader.
• Software: Outdated printer or PDF reader software can cause a myriad of issues such as entire sections of the image disappearing, looking grayed out, or other anomalies.
You just have to try the options because the little preview image of the page isn't very precise. To get an accurate printout from Adobe Reader, what worked in this case was to select Actual Size with a 8.5 X 11 inch Letter size plain paper preset. However, settings can change depending on the image being printed so ••• always make a test print first ••• to be sure. Because, what's even worse than an off-center printout that's running off the page? Printing 30 of them!
The photo below is what I want, banners that are easy to cut out with very little trimming needed. Now I can go ahead and add the lettering and details on them, so yay!

It's not always important to have a file print perfectly but often it does make a big difference. Printer options and controls do vary but hopefully these tips will help the next time your printouts get wonky.
Thanks so much for coming by! If you would enjoy more posts about children's books, classroom activities, educational resources, and freebies >>> please subscribe on the blog sidebar >>>
Happy reading, teaching, creating, and whatever else you're doing!
Loreen Leedy
Children's author-illustrator
Instagram: @loreenleedybooks
Pinterest: @LoreenLeedy
Facebook: @authorLoreenLeedy
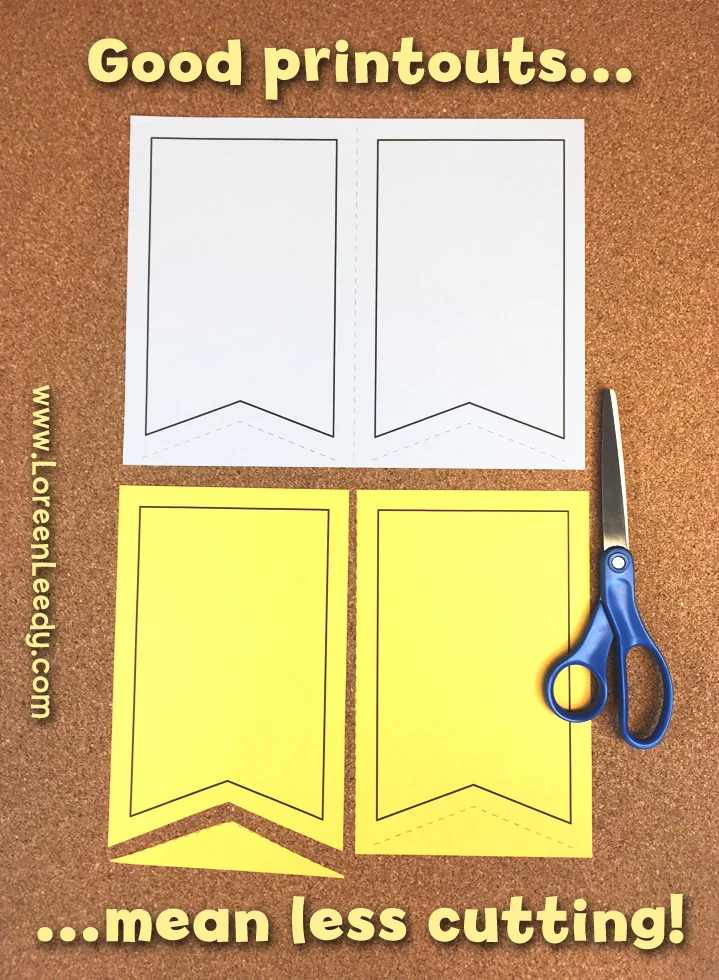
Good printouts that are aligned mean less cutting and trimming